
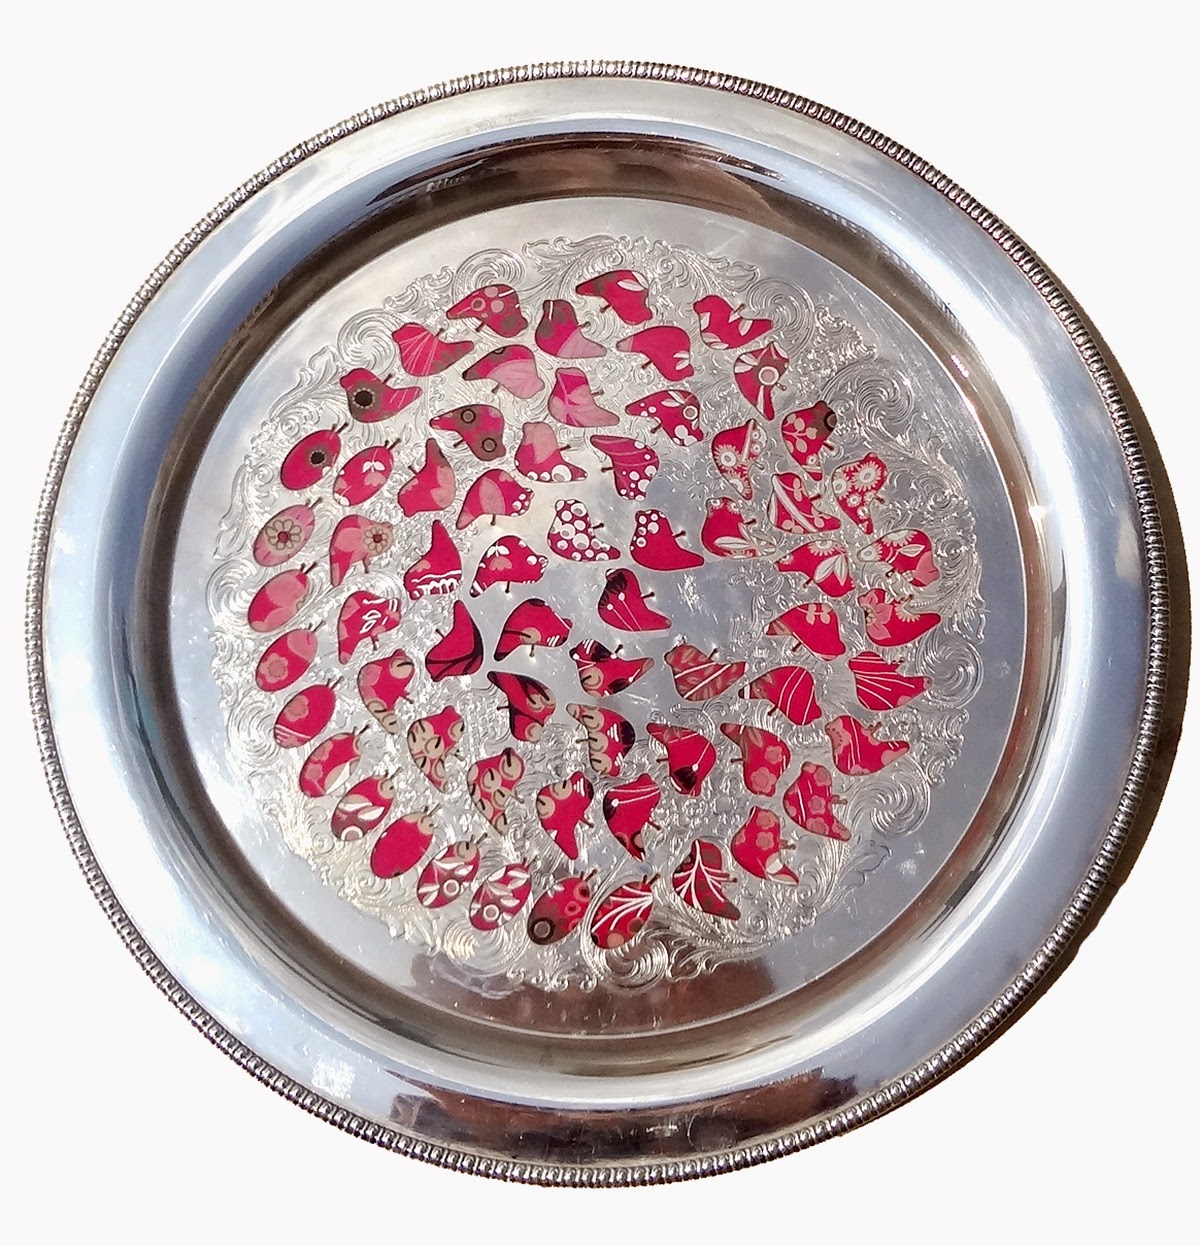
Here is my finished tray!

Yesterday's Part One post showed you how I got to this point in the process. You might want to read that first.
I placed my tissue paper to the back of the cut out tray and covered it with EasyCast.

When the back was cured I poured EasyCast onto my new tray surface. My pour was about 1/4 of an inch high.

Then I had a little repair job delaying my results post one day. I found this bubble. Darn it.
It was already cured and it was driving me a little crazy. Most people would not even notice it, but I knew if I did not repair it that it would be the only thing I saw when I used the tray.

So I sanded the area. I know this makes a few of you nervous. Trust me, these scratch lines will disappear!

I then brushed a final EasyCast layer over the the entire surface. See how quickly those scratch/sanded lines disappeared?

I love the tray! I brought it outside so you could see that it is slightly translucent and looks like stained glass when there is light behind it.

So to recap.
I took a tray that was recycled into charms for jewelry making...and up cycled it back to a tray with EasyCast!
It's beautiful! Thank you for showing us the repair..I didn't know that could be done. Thank you for also showing that repurposing an object can be just as stunning! Fabulous, Carmi!
ReplyDeleteHow clever, Carmi. I wish I could buy some of those charms! What a darling idea.
ReplyDeleteExcellent Job! I love these sterling silver pieces. This is so lovely and unique pieces of antique sterling silver flatware. These pieces produce an elegant addition to any dinnerware pattern. Sterling can be used anywhere in the house, and not just for display.
ReplyDelete