

You may have noticed that I love the artist Klimt. I have the ability to print his artwork because I have purchased many CD Roms from Dover Publishing, my favorite place for clip art.

Today's blog post is going to show you how I made these two pieces.

I wanted to show you the difference between a clay transfer simply sealed and one covered with a glaze layer of Jewelry Resin.

Our starting point is with Print 'n Press Transfer paper which I printed my images onto.
(To learn how to do this, where to buy sheets and more you need to review the section of projects previously posted here.)

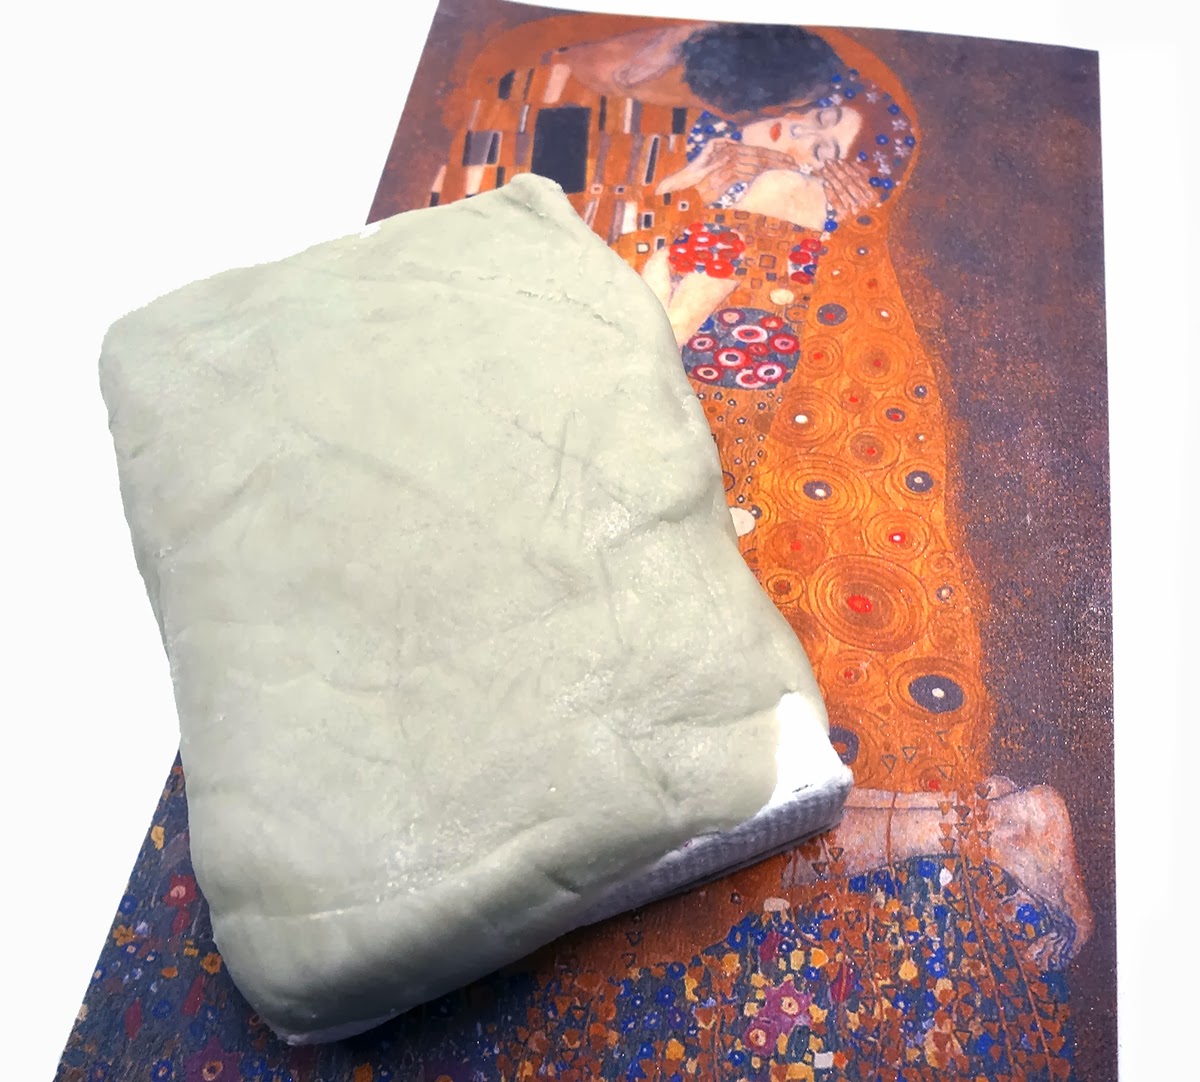
I filled a metal tag with Envirotex Jewelry Clay.
I also covered this mini canvas with Jewelry Clay.
I left some areas exposed on purpose.

Then I pressed the clay directly into my transfer sheet.
I let these pieces cure in place overnight sitting on the transfer paper.
Tip: I use an alcohol swab to clean my finger prints off the back of metal pieces so these finger prints do not cure in place.

I brushed some Luminarte Primary Elements Artist Pigment over any of the clay on my canvas that was exposed.

The next day I pulled my projects from the transfer paper. The artist powder pigments cure into the clay and you just brush away the extra.

Only the clay that had direct contact to the paper achieved a transfer.

I then painted the clay to make my pieces look older and of course to finish them.

Painting is fun! I add and subtract paint until I have achieved a vintage aged effect.

To protect my transfer from scratches etc, I sprayed a layer of Resin Spray on the surface of both projects.

If you do not have our Resin Spray you could use a decoupage medium or acrylic spray. The transfers look great and sometimes I stop at this point.

I do however believe that everything looks better under liquid resin!

One glaze coat of our Jewelry Resin is equal to 50 coats of a varnish!

It is your choice.
Glazed or unglazed, these transfers turned out fabulous!
A true artist at work, you are amazing ...
ReplyDeleteHow do you prevent brush strokes from showing up on the resin?? And how do you clean your brushes - do you need specially soft ones?? - I would love to use resin to seal my pieces, but this is what holds me back - would appreciate and answer, thanks, Neena
ReplyDeleteNeena, our resin is self levelling. I have never had a brush stroke on anything I glazed. As always, you need to experiment, so test it on a piece you are not happy with or a broken item to see.
ReplyDeleteI don't believe you can clean a brush. I use very inexpensive ones from the dollar store because I throw them out after using. I try and glaze several things at the same time to get a good use out of a brush.
Carmi, they're beautiful. Thank you for all the tips. If I hadn't seen them side by side, I wouldn't appreciate the difference that a finish glaze of resin makes. Wow!
ReplyDeleteOH how much do I love this!!! You are a genius. I love Klimt too and this is a perfect expression of translating one artwork into further art! xox jean
ReplyDeleteLovely. What is the gold paint you are using here? The colour is perfect for Klimt, and looks great painted on the clay, I'd like to get some if they have any over here :)
ReplyDeleteI used Lumieres with some green powder underneath. My paint jar is very old and I was worried it had dried out...it was very thick giving me great coverage!
Delete