

I already know.
I went way, way, way overboard with this necklace.
I am sharing it with you because this is what happens when you experiment with a new medium and that new medium is Jewelry Clay.

My idea was a simple one to start. Fill some bottle cap style components with the clay.

I happily made my clay gold by brushing gold Pearl Ex across the surface.

Then I stamped my initials into the clay with rubber stamps and black StazOn ink. I should have stopped right here.

But the ink was still wet and I wanted to see if Pearl Ex would cling to it. It did. The pink Pearl-Ex made my black look purple.

Then I added some Preciosa crystals. I see space...I fill it.

Since I was already dabbling, I pulled out this metal embossing tool and added some interesting pattern to the clay surface.

Could I stop??? No, having too much fun at this point. In for a penny they say...

I added some extra colour with my Sharpie glitter marker.
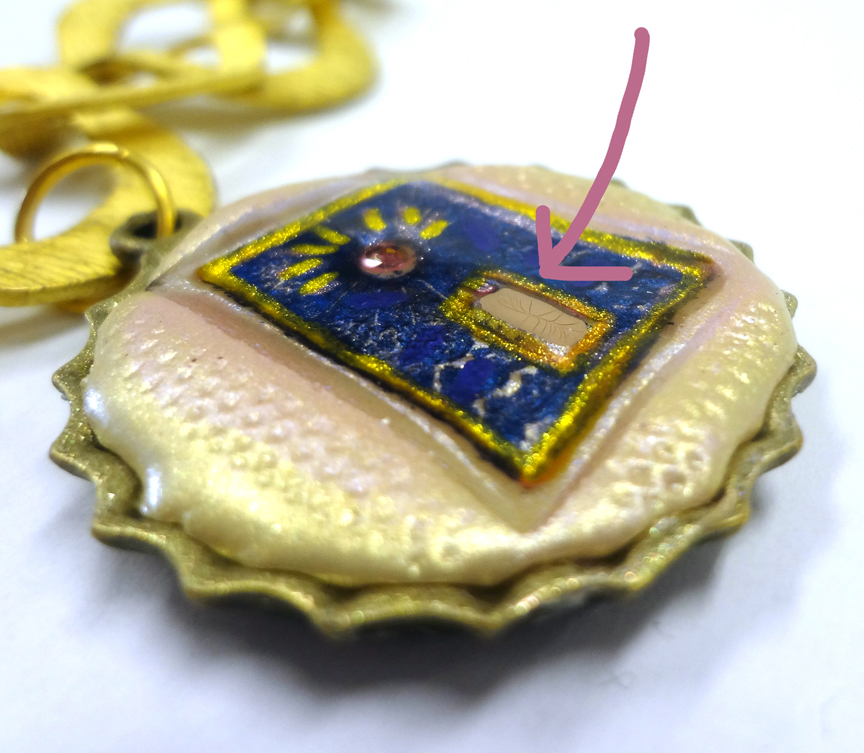
Last but not least, after my clay cured overnight I just had to pour some Jewelry Resin into the recessed areas.....

When you go overboard...sometimes you just have to try everything!
AHAHA! I am just like that. Why not go for the gusto? I think that these would make cool ornaments for the Christmas tree. I like to have ornaments with our initials on them. (Will make it easier to sort them out when the kids leave to make their own Christmas memories!) Those stamps are cool and I really must find some Pearl Ex as I love the shimmery effect. Enjoy the day. Erin
ReplyDeleteWow, these look so cool, not OTT at all - at least not for me!
ReplyDeleteBTW, I have a question.... I was a bit naughty with my measuring of the resin... and it didn't cure properly (it's cured sticky). Can I rescue it by pouring another coat of resin on top of it...? Unfortunately there's no way I can scrape off the sticky layer... Thank you :)
Hi Joanna! All is not lost. Definitely mix a good batch of resin and carefully brush a glaze layer over the sticky section. Also, make sure your room is warm enough or set this project to cure in a sunny window. Resin needs 72 degrees and warmer at all times to cure properly! Tell me how it goes!
ReplyDeleteThanks for the tips Carmi, I will give it a try!
ReplyDeleteyeah!! i really like the designs...
ReplyDeletehttp://fashionartificialjewellery.blogspot.in/