Hello Resin Craft fans. Karen Bearse here with another fun resin post. Today we are playing with molds and resin. Have you ever bought embellishments and just wish they had them in plastic? Or maybe like me you want to hoard your one piece until the Apocalypse so you need to make more.

First we start with making the mold. Figure out how much putty you will need to create your mold. Work on 1 mold at a time. Read product directions for more information.

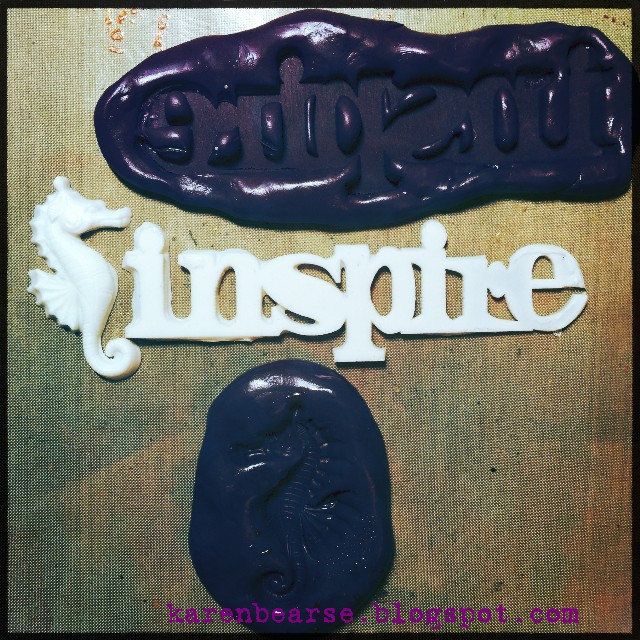
Pinch off equal parts of Easy Mold and knead the putty together for 1 minute or until you have a solid purple color. Shape putty to the size and shape you need so there is enough to push your piece into the putty. Put piece on a craft sheet and gently push your original into the putty. Let set for 25 minutes and remove object. To use with resin the mold must cure for 24 hours.I made a second mold using a word. Make sure you reverse the word before pushing it into putty so your word is backwards.
 Once the mold was cured I prepared some EasyCast by measuring out equal parts of the resin and hardener, mixing together and stirring for 2 minutes. I poured it into a new cup and stirred for one more minute.


Then,I added 1-2 drops of color pigment in white. Stir until color is uniform. Pour resin into mold dripping carefully using a stir stick.

I let the resin cure overnight. My resin pieces popped out easily.