Steph is going to show how easy it is to create a silicone mold!
Hi everyone, Steph Ackerman here today working with some wonderful products from ETI. I have never worked with ETI products before so I was thrilled (and a little anxious) to see what I could do with these products.
I started with Easy Mold Silicone Putty. This product allows you to create your own molds - any type, any size. The directions are extensive and very easy to understand.
So, per the directions I took equal parts of the Component A (white mixture) and Component B (purple mixture) and combined them. Since there is only about 3 minutes of working time, take only the amount you think you can work with quickly.
Knead the 2 colors together for approximately 1 minute.
Continue to knead until a solid purple color results. No white should be visible.
Once a nice purple results, roll into a ball.
Flatten slightly. Press the item you want to mold into the putty and allow it to remain for approximately 25 minutes.
I used a large metal flower brad and pushed it into the putty. Once it dried, I removed the flower brad and had a perfect mold. Tip: Don't let the mold cure on a paper towel because the paper towel sticks to the mold as it sets!!! The paper towel, however, does not affect the curing process or the final mold.
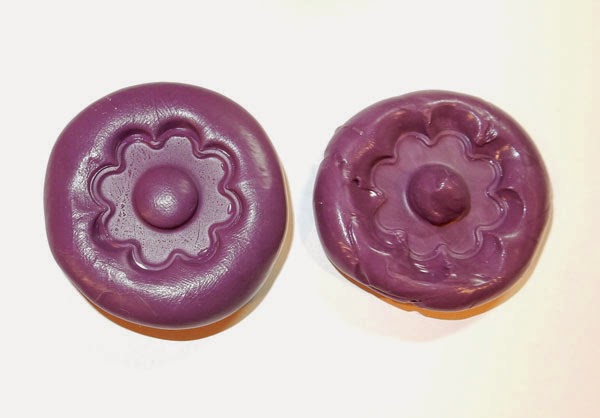
I didn't think the mold was deep enough so I made another. On the left is the shallow mold and on the right is the deeper mold. I can't wait to see the different results.
Think of all the possibilities you can create from found objects such as buttons, keys, flowers and even stamps. So many options. Just be sure to have the items you want to mold ready before beginning the molding process.
Allow the mold to cure for approximately 24 hours before using casting products. I can't wait to create more molds.
Steph
Labels: Easy Mold Silicone Putty, ETI, How-to, Steph Ackerman