

Here are the first two finished pieces from the tray of resin I began on the weekend.

Yesterday's post showed you how I got to this point in my project tray.

I then filled my mold openings with EasyCast - the ETI resin designed to work in molds.

I was so happy to pop my casted molds out of the silicone tray. Remember, when you work in a tray, the bottom is usually the top. You work backwards and only see your actual work when you remove your pieces from the mold.
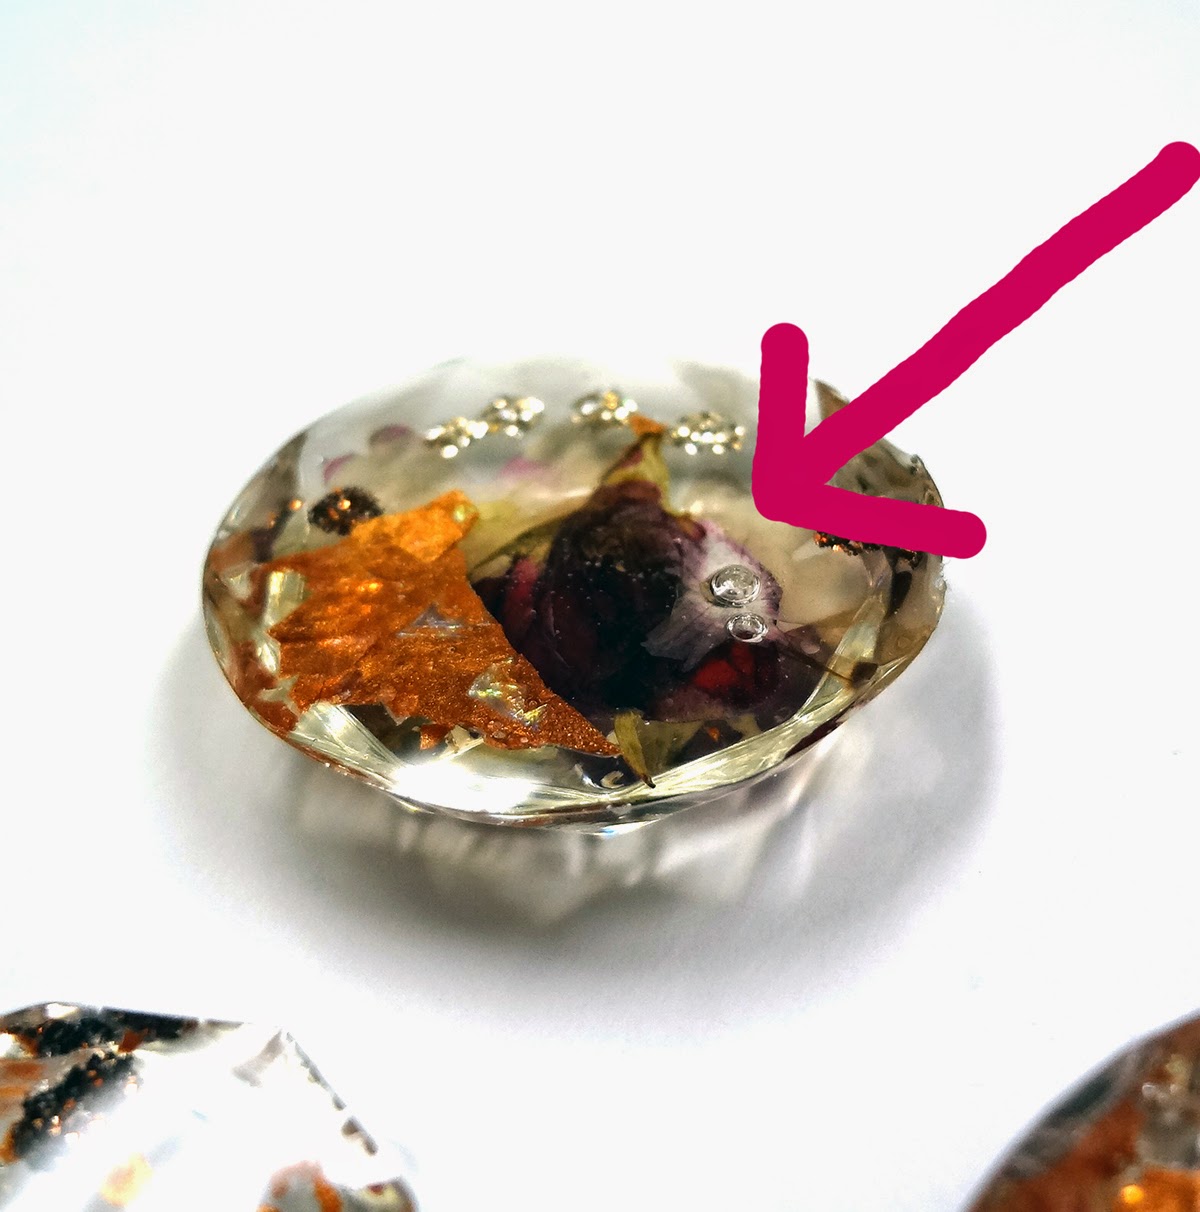
It was a good thing that this side was now the back...I discovered two bubbles that magically appeared over night.

Flipped over, I loved my two special dried flower castings. I wanted to turn these into finished jewelry pendants first.

They already fit right into bezels I have. I could have just glued them in place...but here is where my tips come in!
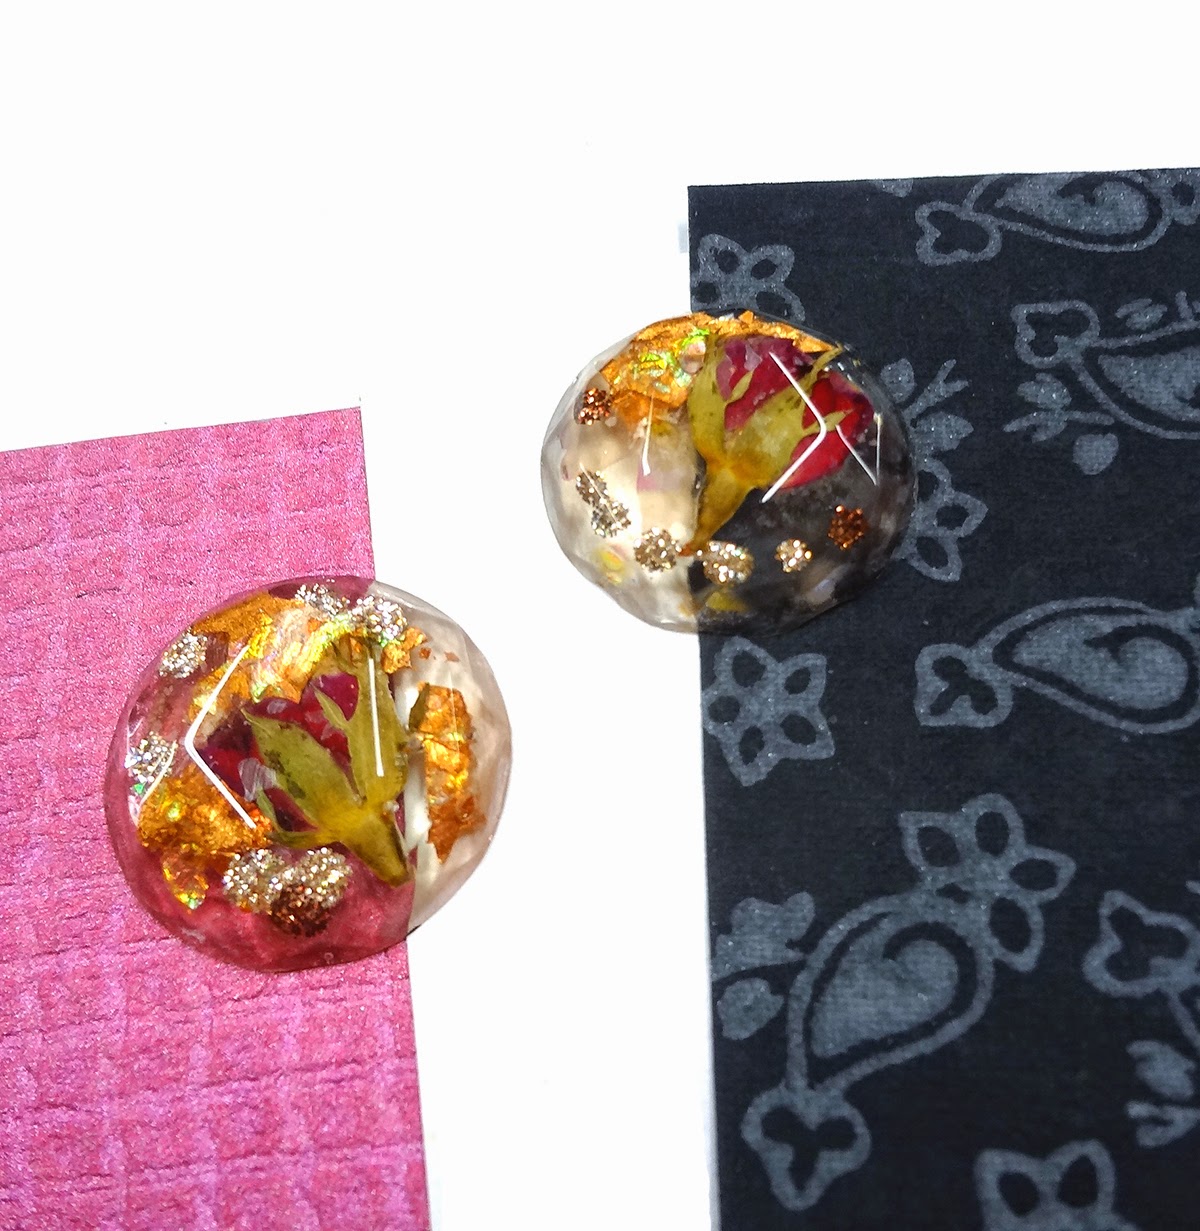
I always place my cast items onto coloured paper. You just never know what colour might help showcase your casting better.

I could not believe how gorgeous my new resin casting looked against an orange background!

In the end, I used a black paper background in this bezel. My glitter really pops now.

And the dried flower looks amazing against the orange.
More results tomorrow!
This is interesting to me. I am working on expanding to the faux opal inserts that I mentioned to you. I built those up from the bottom of the bezel to dome the top. I am wondering about using a mold now. It would require some experimentation. Do you glue the molded piece to the paper and then to the bezel? Or do you glue the paper to the bezel. coal with mod podge and then a thin layer of resin to act as the glue? I am intrigued! Enjoy the day, Miss Carmi! Erin
ReplyDeleteI glue the paper in place and then add a little more to set the resin piece. If I have time, I use resin as my glue...so much more secure. If I am really rushed (have to wear it right now) I use Quick Grip glue.
Delete