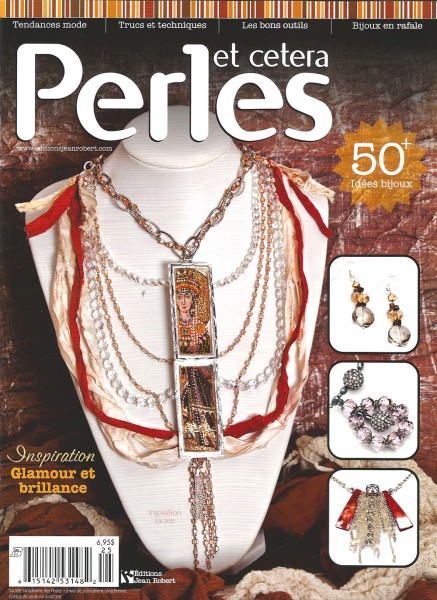
The current GLAMOUR issue of Perles et cetera is on the stands and it features my Icon Inspiration Necklace for John Bead Corporation. I am sure you won't be surprised to see that I featured a Jewelry Resin filled bezel set.
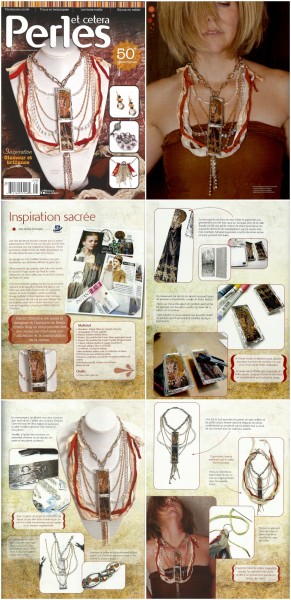
The article is in french, so I am going to share the how-to with you in English.
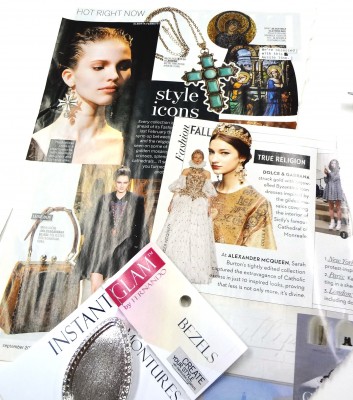
One of the hottest trends for fall/winter 2013 is a divine one with religious inspiration. Byzantine icons, stained glass and the Maltese cross appeared on clothing, handbags and jewelry. I clipped several fabulous examples and left them displayed in my studio.
I knew that somewhere in my studio was an icon image that would become the featured image for my necklace for this Perles et Cetera issue.
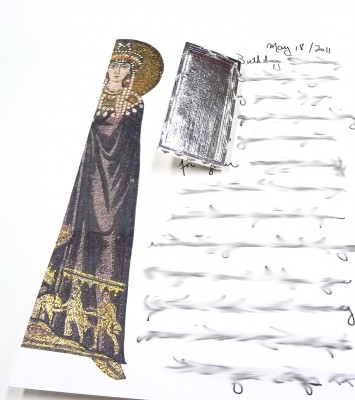
It took some time to find (because I do save everything) but I finally located a letter my husband had written to me several years ago. The edge of the note had the perfect image! The printed icon was quite large, so I decided to see if I could embed it in resin after dividing it between two large Instant Glam by Fernando rectangle bezels.
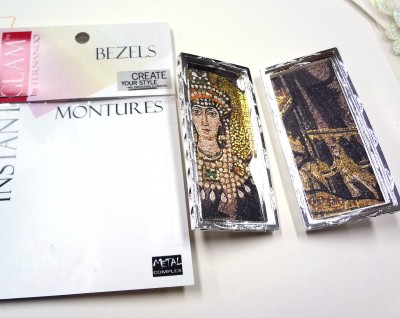
I carefully cut out my paper icon sections and sealed them into my bezels with glue. I then made a small batch of Jewelry Resin (according to the manufacturers instructions) and poured it into my bezels. I allowed this first layer of resin to cure for 48 hours.
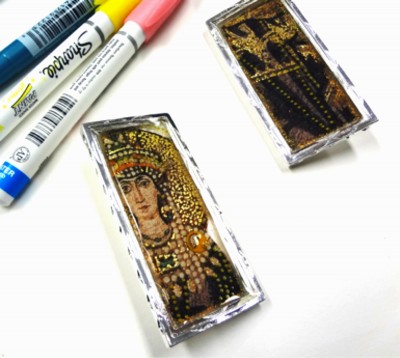
I decided to add some extra paint lines and markings to the first cured layer of resin.
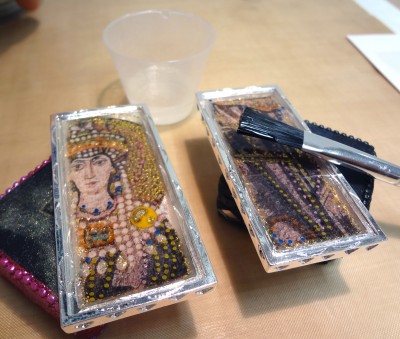
When the paint dots and dashes were dry, I painted a second layer of Jewelry Resin across the bezel surface. This top layer of resin ensures that my own paint markings are completely covered in resin and cured in place permanently.
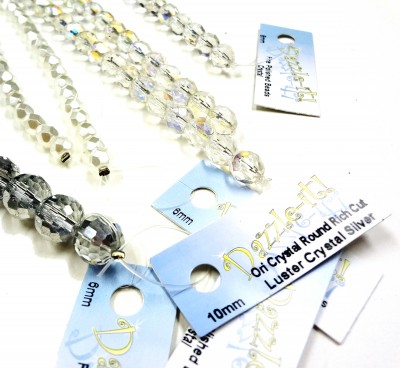
I did not have a plan or instructions to string two bezels into one focal piece. I knew I would have to just gather some great crystals, chain and fibers and experiment with the design.
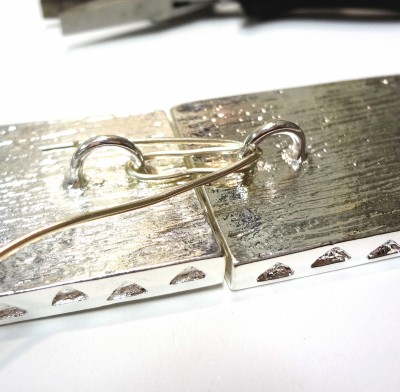
I started by wiring my two bezels together. The backs of the Instant Glam bezels have two rings. I knew they would help me to place my chain and beads too.
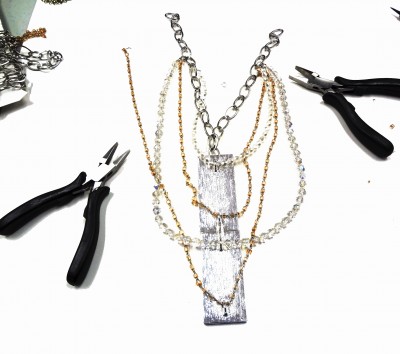
Working on the backside I was able to add and subtract beads. This is the sort of free form jewelry making project when the only way to know if the necklace will work is by stopping to try it on regularly. I wanted the bezels to sit quite high, so I needed a strong choker at the top to hold everything in place evenly.
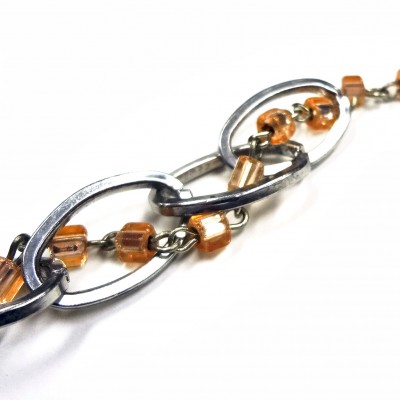
I added seed bead chains through my chain to make it more glamorous.
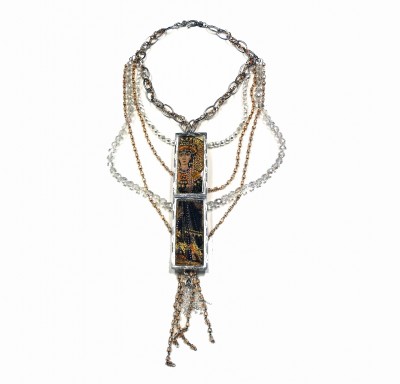
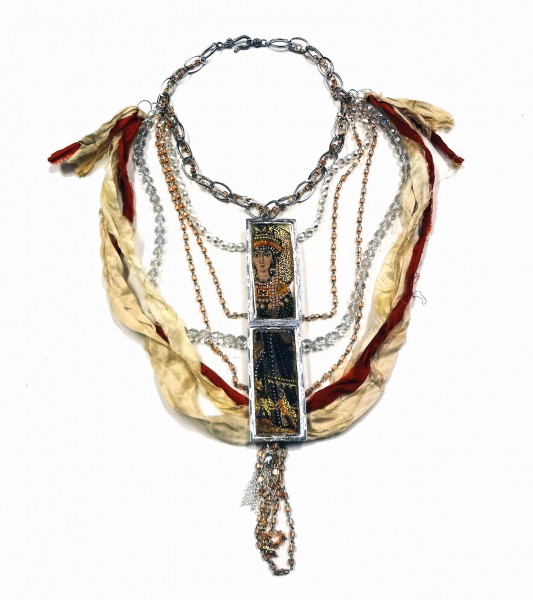
The strung crystals and the seed bead chain looked quite beautiful by the time I was done. I even made a dangle with some of my leftovers. However, I felt as though the necklace needed more.
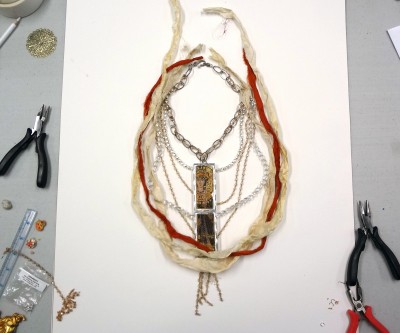
I pulled out some sari silk ribbon in colours that would match my featured icon.
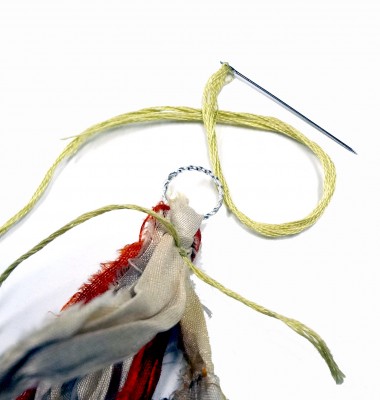
I simply sewed my fibers in place and attached them to the body of the necklace.
I am quite thrilled with the Icon Inspiration necklace. I can’t wait to wear it to a special event this holiday season!
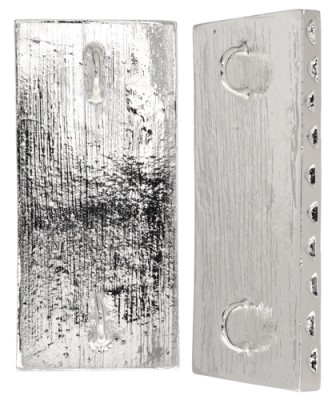
John Bead Products Featured
The Bezels
Instant Glam by Fernando Tuscany Rectangle
Envirotex Jewelry Resin
Fire-polished 6mm White pearlized glass beads
Fire-polished 8mm Crystals AB glass beads
Platinum and orange Seed Bead Cube chain
Oval Cable Antique Silver Leaf Chain
Hook and Loop Clasp
Black Flat nose pliers
Other Jewelry Making Components Used
Wire to string beads.
Split Rings to attach strung beads to chain.
Wire Protectors and crimp tubes
Sari Ribbon
Carmi Cimicata is also the author and designer of Resin Crafts Blog where you can read hundreds of how-to articles about resin and how to work with it. www.resincrafts.blogspot.ca

Congratulations! How exciting to be on the cover!!! Your piece is lovely and I thank you for sharing how it was made.
ReplyDeleteThat is some statement piece! I love the lushness of it, and of course the resin, which reminds me that I am behind on the finishing touches for my project, but I have tomorrow to work on it during the day! Yea! It will be in your hands soon! Enjoy the day. Erin
ReplyDelete