This sample of vintage trim is now permanently encased in Envirotex Lite.
It began as pieces of a trim from a vintage linen collection I located in an antique store.
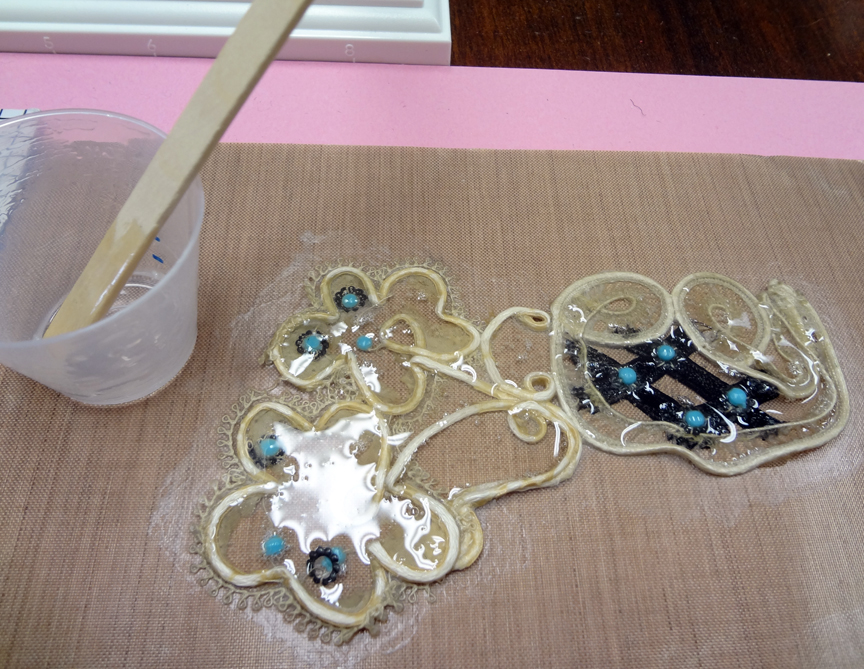
I would like to show you how I created my new resin project. To begin, I sealed my trim with Aleene's decoupage medium on a non stick sheet. As you can see, I was generous with the glue.
I moved my trim to a second location on the non stick sheet and applied extra decoupage medium to the back side. I waited for this to dry and then peeled my trim from the non stick sheet and applied a second layer of sealing decoupage to the front of my trim.
I allowed my trim to dry overnight. Then I made a small batch of Envirotex Lite and carefully dripped/painted my resin all over the trim. The open areas are glued to the non stick sheet and are keeping the resin in place.
24 hour later, I peeled my trim away from the non stick sheet. I cut away some of the edges. AS you can see by the arrows there is some excess glue and resin I can cut away.
This is the reverse of my "resoned" trim. When you work on a non stick sheet, the resin can pick up the slight texture of the sheet. I really do not like this.
So I am applying a new later of Envirotex Lite to the back of my trim to ensure that these textures are covered.
Wait till you see what I do with this next!
Labels: Envirotex Lite, Vintage Resin, Vintage Trim