want to do a few transfers too!
This project uses my two best friends; Envirotex Jewelry Clay and Jewelry Resin.
Together, you can easily create jewelry like this!
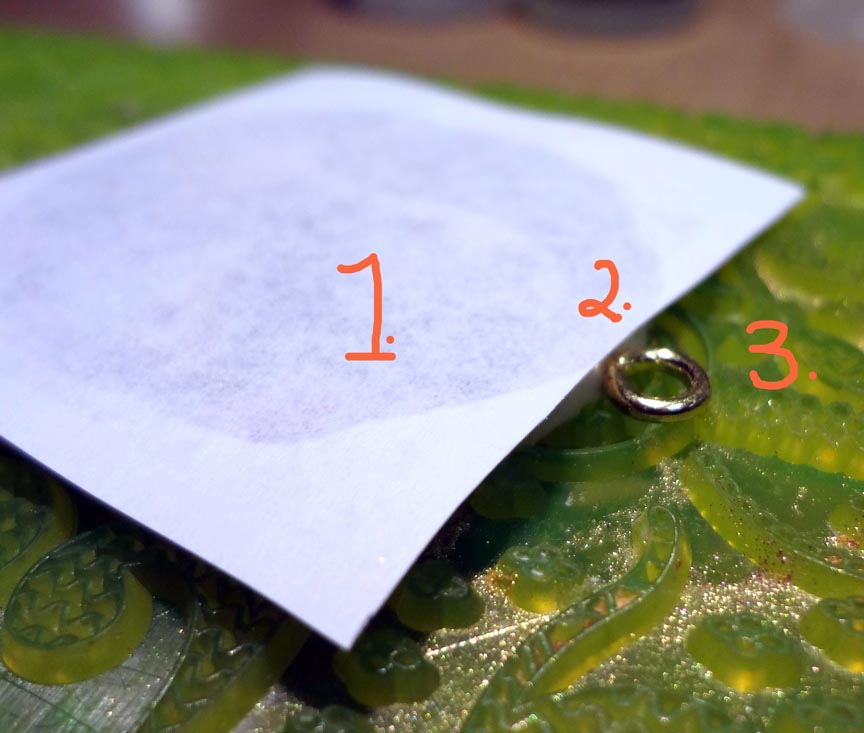
Here is my transfer paper sitting on my clay.
What I did.
1. My Print 'n Press transfer paper has been rubbed onto the surface of my clay and allowed to cure in place overnight.
2. I added a screw eye to my clay so that it will be a pendant immediately.
See transfer post for this technique.
3. My clay is curing on a non stick polymer clay stamp sheet.
See how the stamp sheet made all these permanent impressions? I peeled the clay off after it cured overnight.
Then I peeled off the transfer paper.
This is the sheet of images I chose from.
I applied two glaze layer of Jewelry Resin. This is the first glaze layer. See how the transfer looks brighter and darker? Resin always magnifies the colour t is brushed on. I did two glaze layers to make it extra glossy. Also, note that I did not add additional colour to the clay on this side.
This is the ivory colour the clay is already.
I used metallic wax to colour the reverse side.
Labels: Clay Transfer Technique, Colouring Resin, EnviroTex Jewelry Clay, Envirotex Jewelry Resin, Glaze, Print n' Press, Tutorial