Today I am showing you the first Instant Glam bezel I have used to create an exciting new pendant.
(A longer post appears on the Metal Complex Blog.)
Jewelry Resin is what I used to encase my images and inclusions into the bezel.
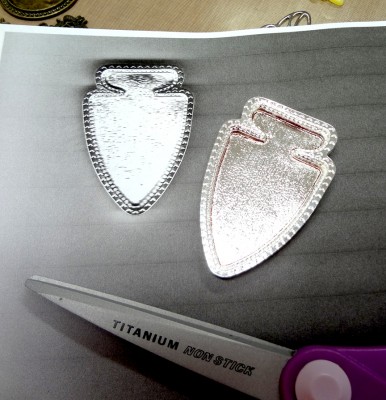
To start, I made a photocopy of my bezel. I wanted an easy template
which would allow me to cut out an image to glue to the bottom of the
bezel.
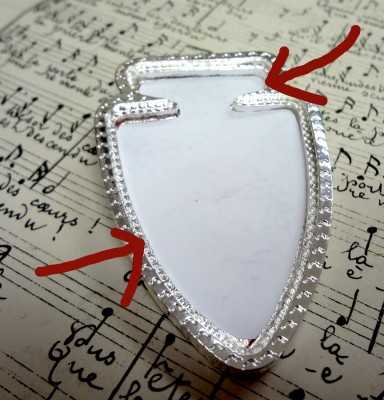
The unique arrow design means it would be difficult to just “eye
ball” cutting an image that would fit. My template will save lots of
time and now I can work in many additional arrows!
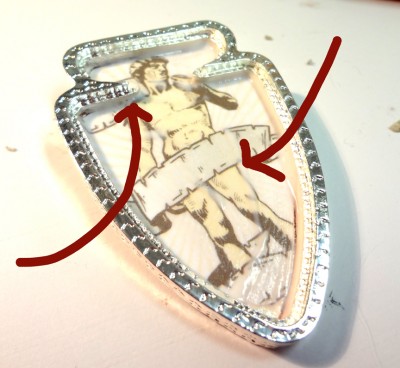
The bezel I am working in is from the Instant Glam Tuscany collection. It made me think of all the art in
that region of Italy. The David is a universally loved icon. I applied
the paper image to my bezel and sealed it with several coats of mod
podge. Then when my image was dry (overnight) I poured in the first of two layers of Jewelry Resin.
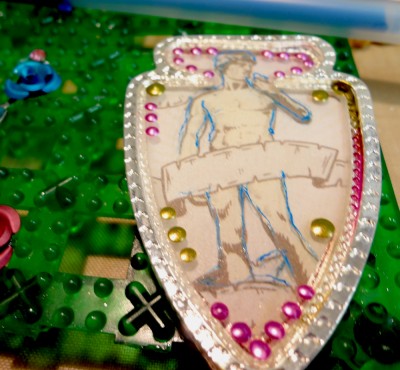
When my first layer of resin was cured I added some paint and gel marker lines.
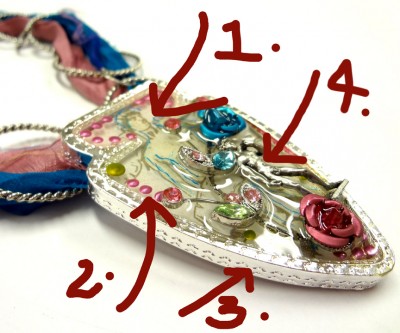
Here, you can see my bezel after the second pour of Jewelry Resin encased my final inclusions.
1./2. The paint and gel marker now looks like it is suspended.
3. I wanted to also point out how beautiful the edges of these Instant Glam bezels are.
4. Yes, that is a mini “David.” I bought this charm ages ago and it finally found a home in this piece.
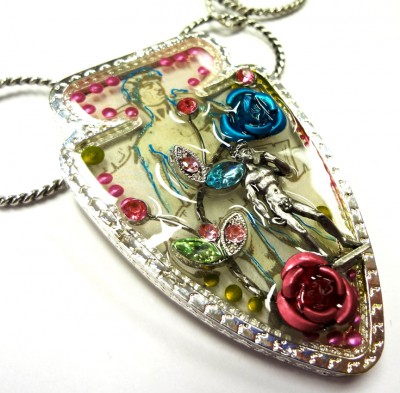
I think the pendant turned out lovely!
Thank you to Instant Glam for the bezel sample!
